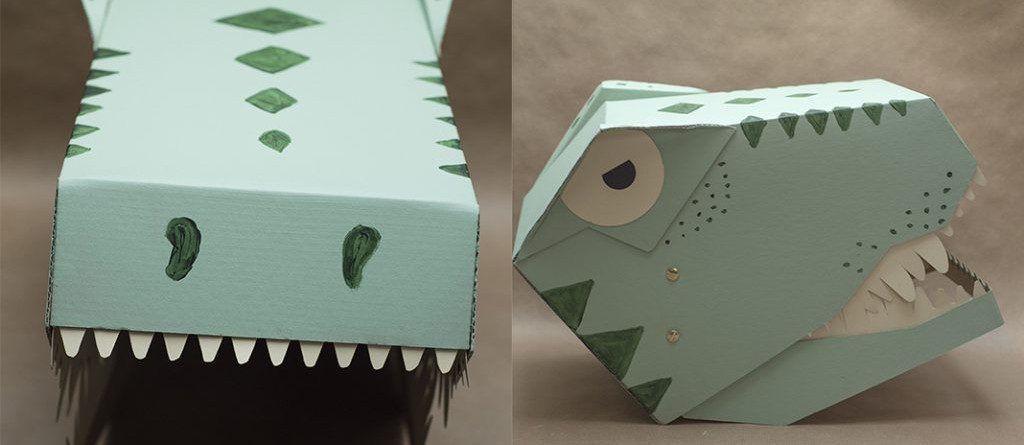
PIMP MY T-REX
When you get bored with the eco version of the T-Rex mask, we suggest a little “tuning”.
Below is a step-by-step instruction on how to give it a new expression! Have fun!
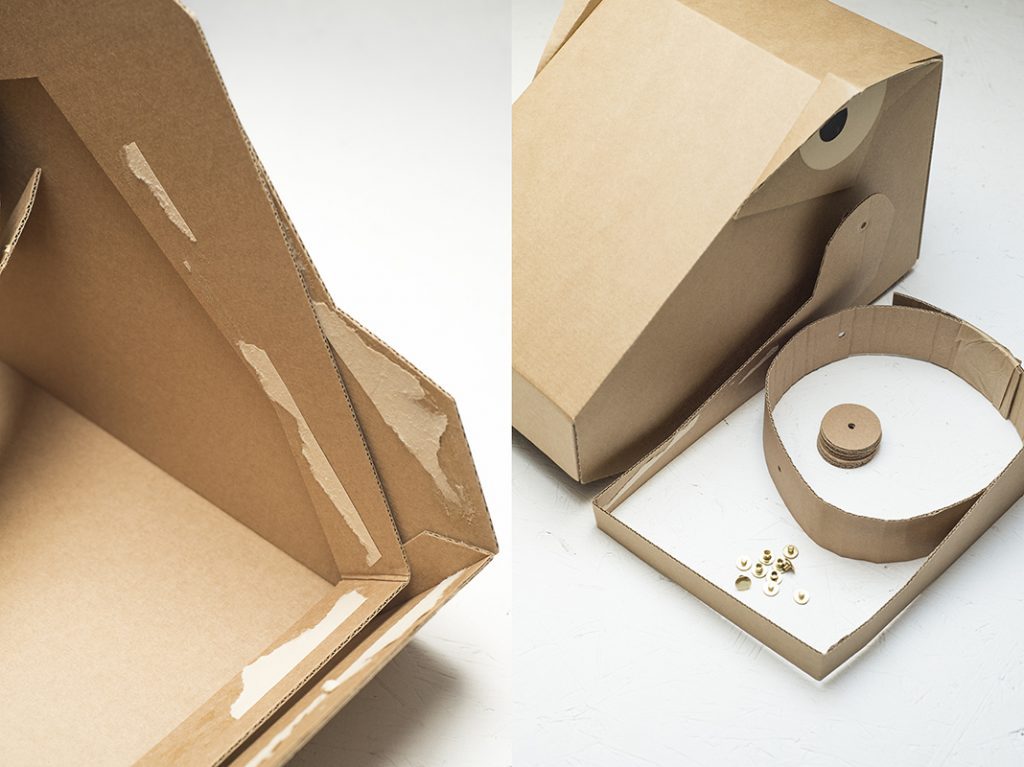
1. Remove the teeth if they are „tired” already, just tear off the paper. Also unscrew the headband and the lower jaw.
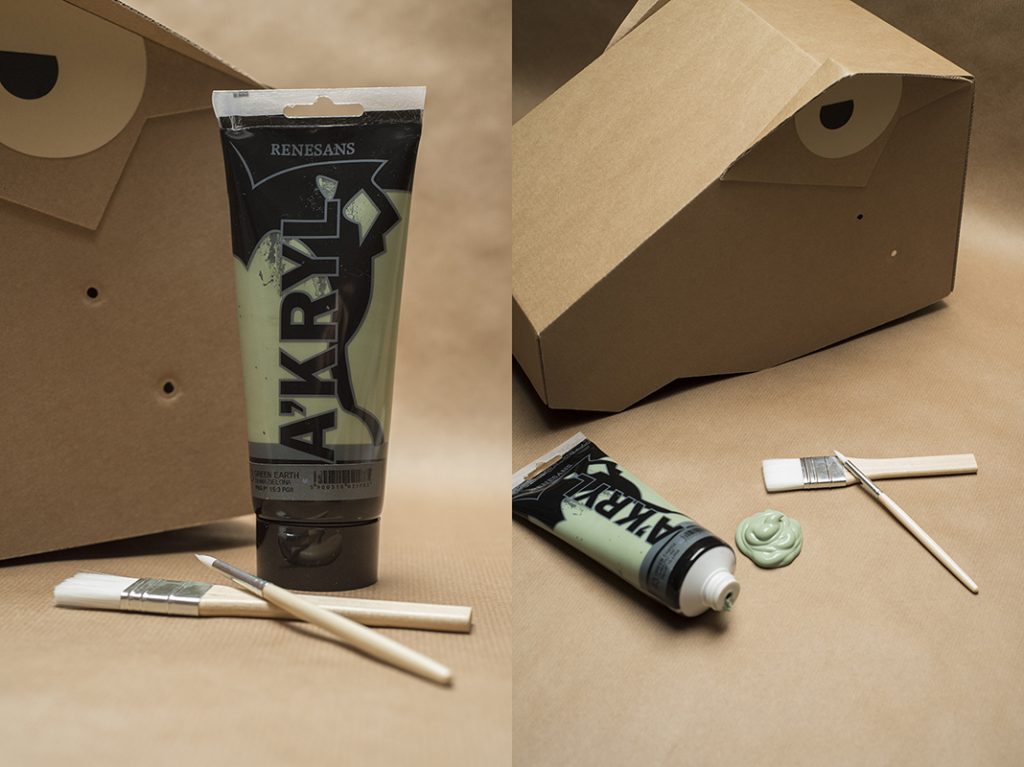
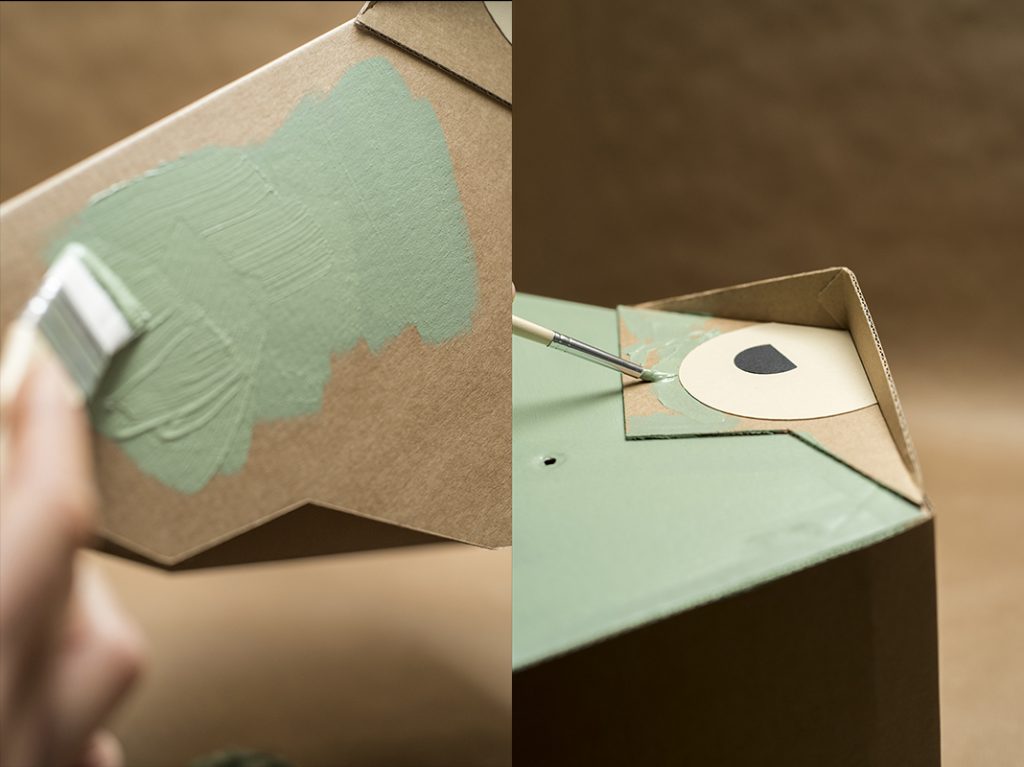
2. Prepare two brushes: bigger and smaller, and paint. If you can, use acrylic paint, do not use water. The paint must be thick. The less water you use, the better.
* IMPORTANT TIP
If you are painting the mask from the very beginning (when assembling the mask for the first time), do it immediately after gluing the main element. Under no circumstances should you paint the cardboard before gluing it into a lump (this will cause the material to bend).

3. Paint the lower jaw and then screw it and the headband back with the head mask.
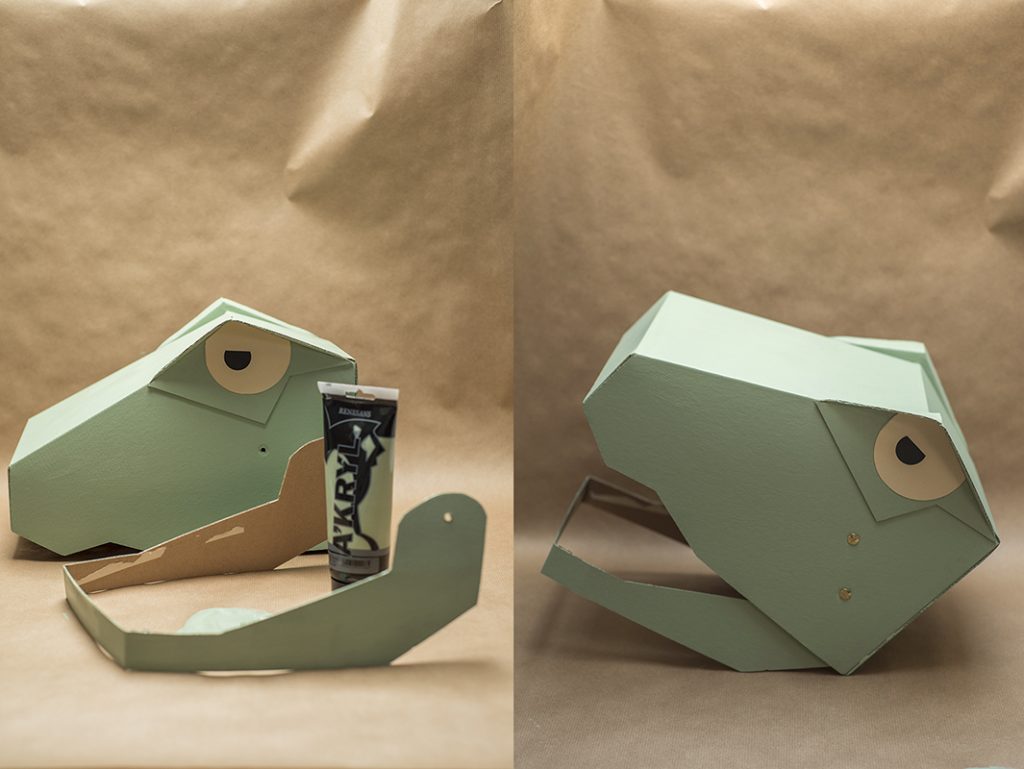
4. At this moment, we need to take care of our dinosaur’s teeth again. Below you can download the file, just print the sheet on your home printer.
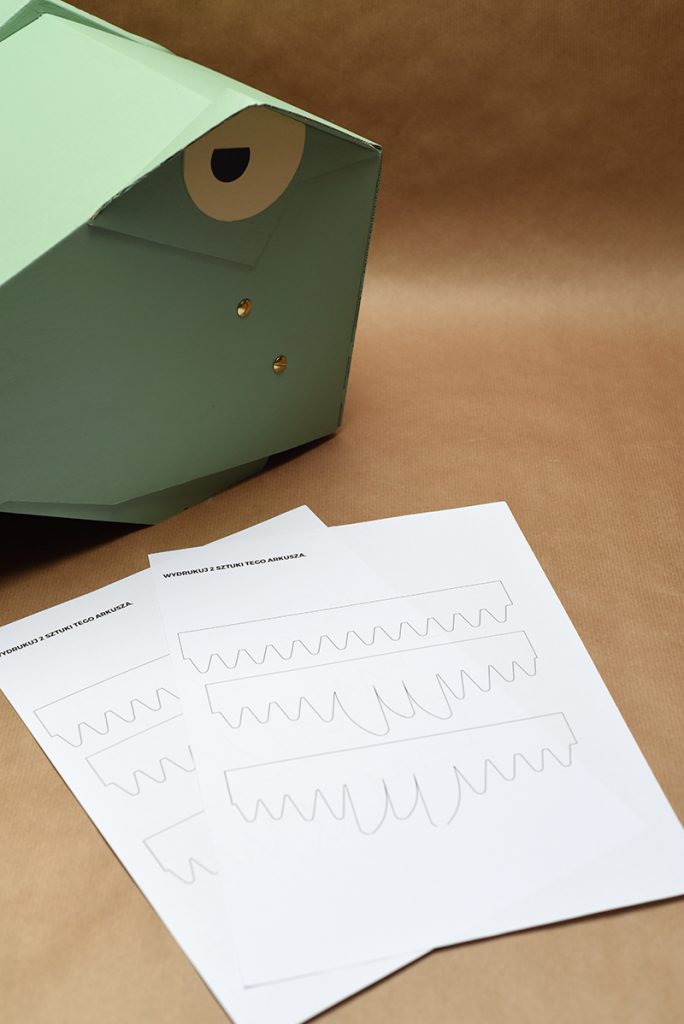
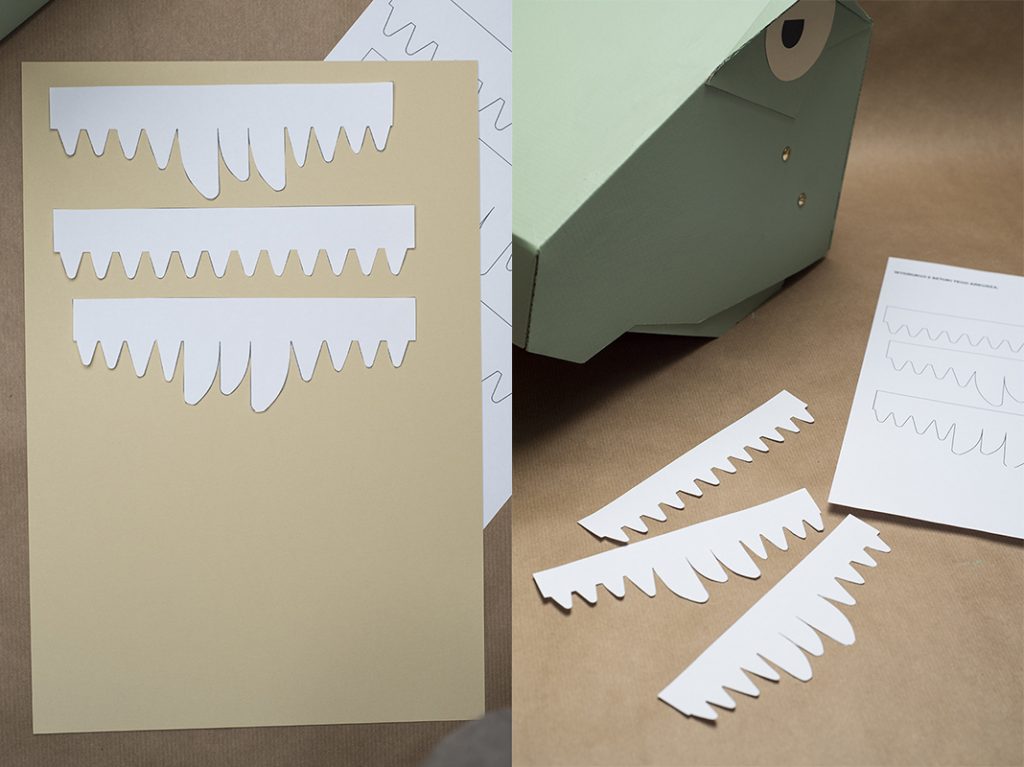
5. Cut out the printed teeth, you can use them as targets, or as a template for tracing on stiffer paper that you cannot put into your home printer.
If you don’t have a printer, you’ll have to deal with it yourself! Don’t worry, you will definitely do great! You can recreate previous teeth or create a completely new variant. Make your teeth out of paper (preferably relatively stiff), or use another material that will work … maybe felt?
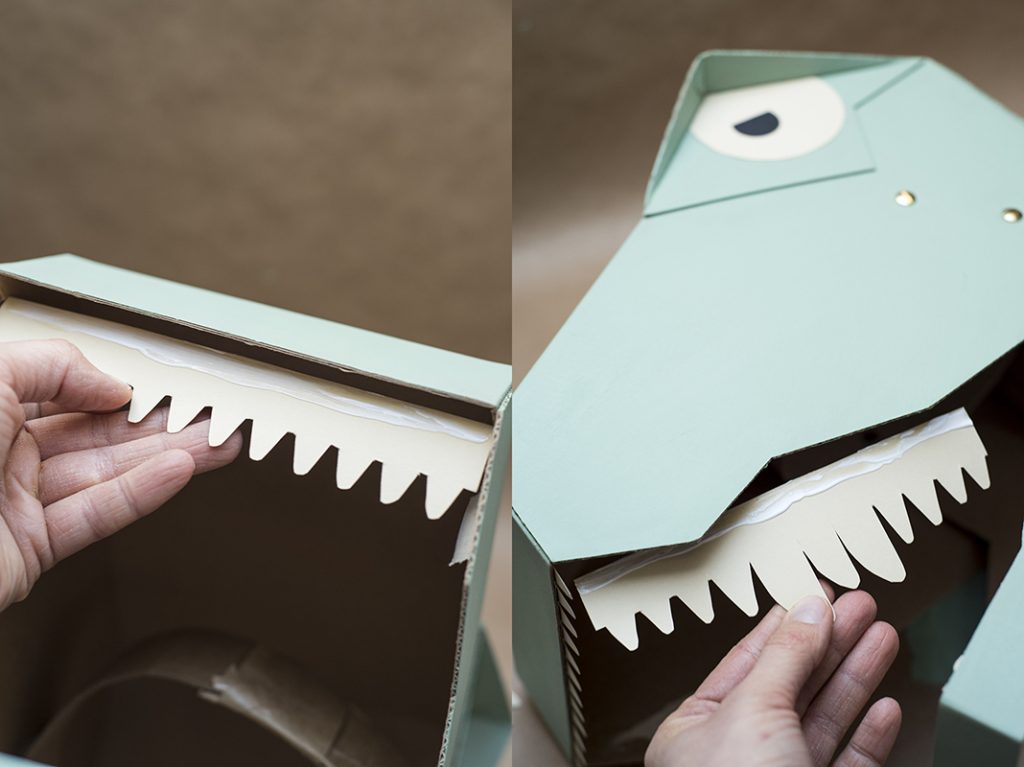
6. Stick your teeth to the mask as indicated in the instructions.
7. Use a pencil to sketch additional elements on the mask, and then paint them with a different shade of paint. We recommend using acrylic paint without using water.
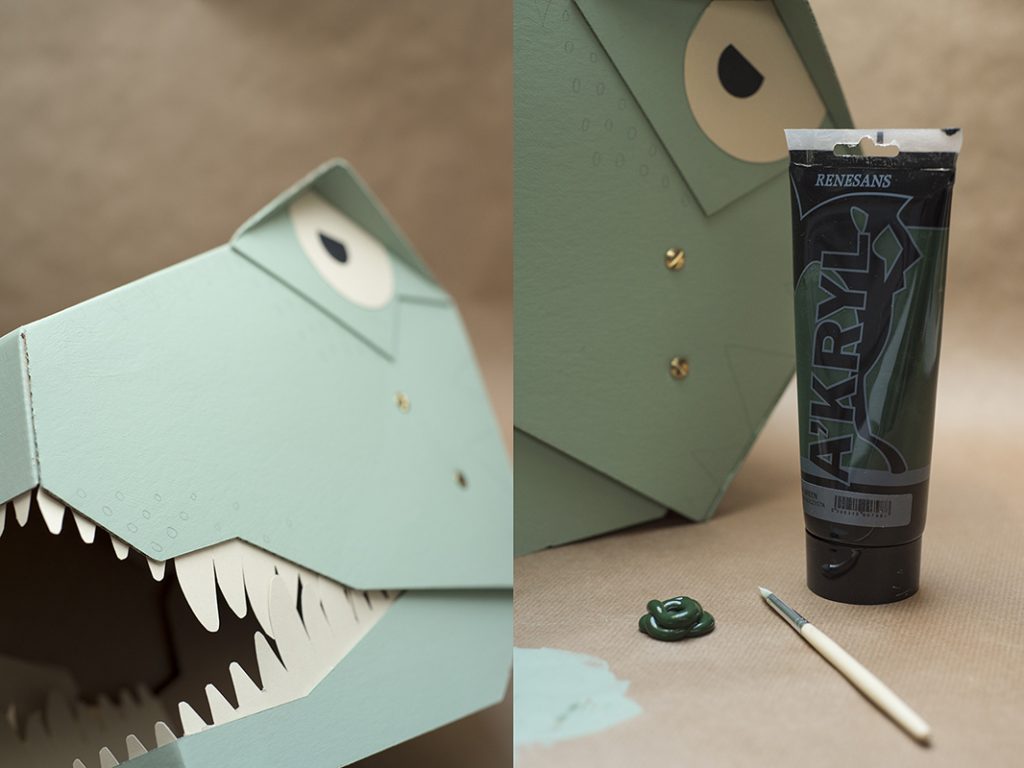
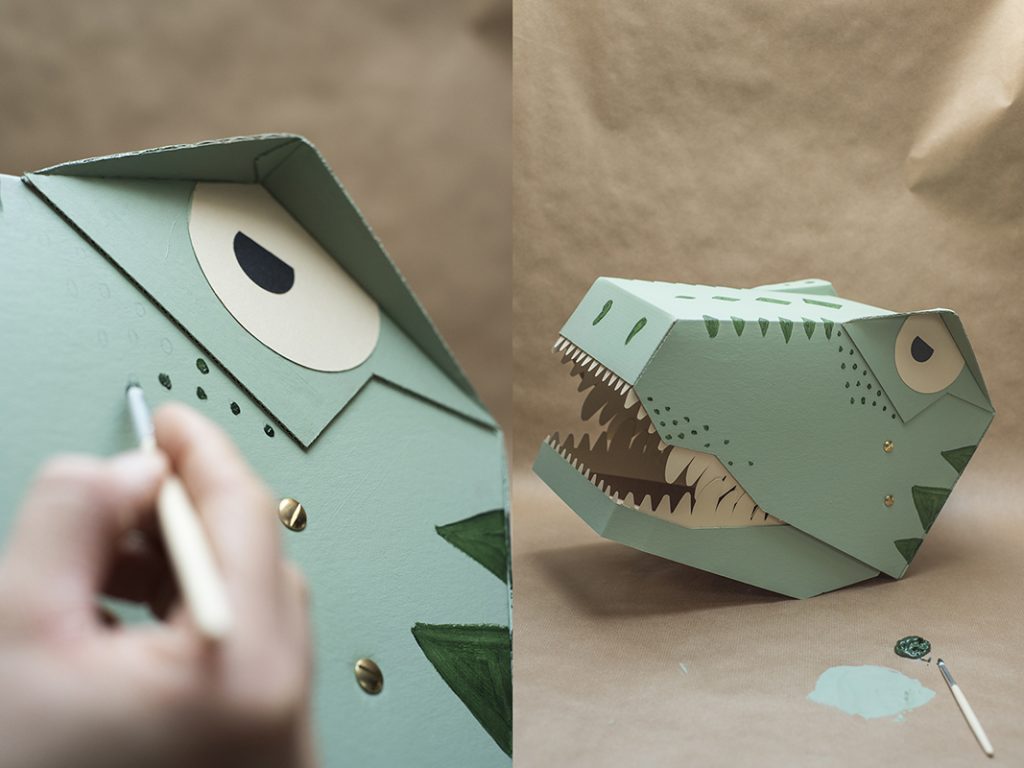
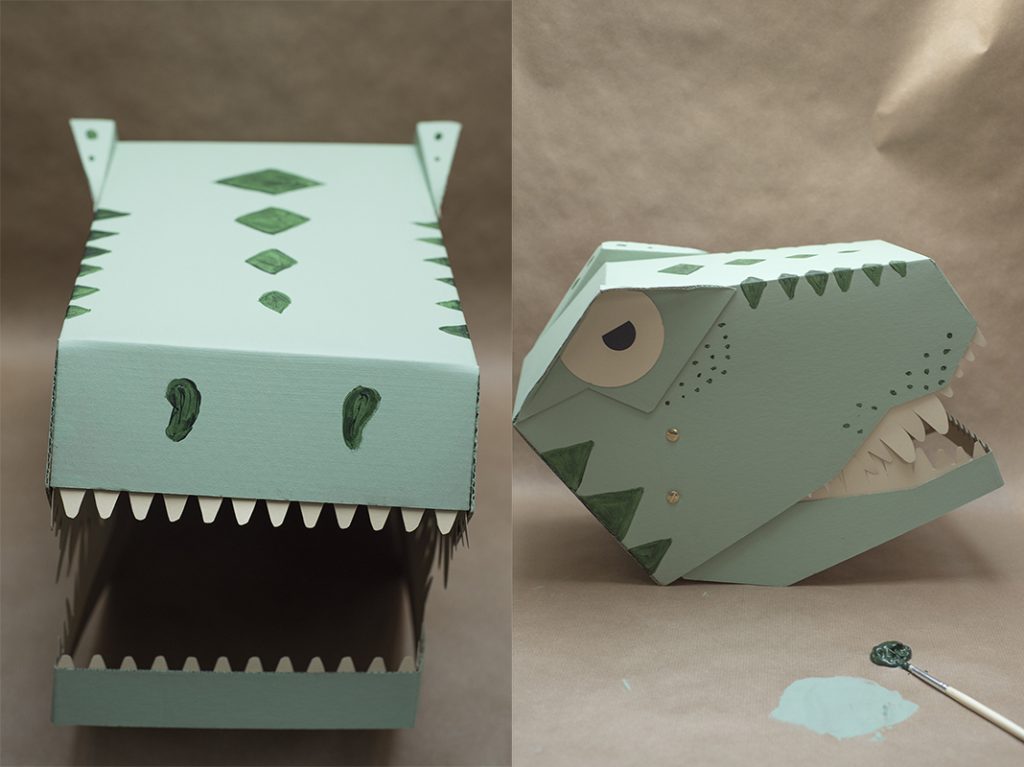
ALL READY! WELL DONE!
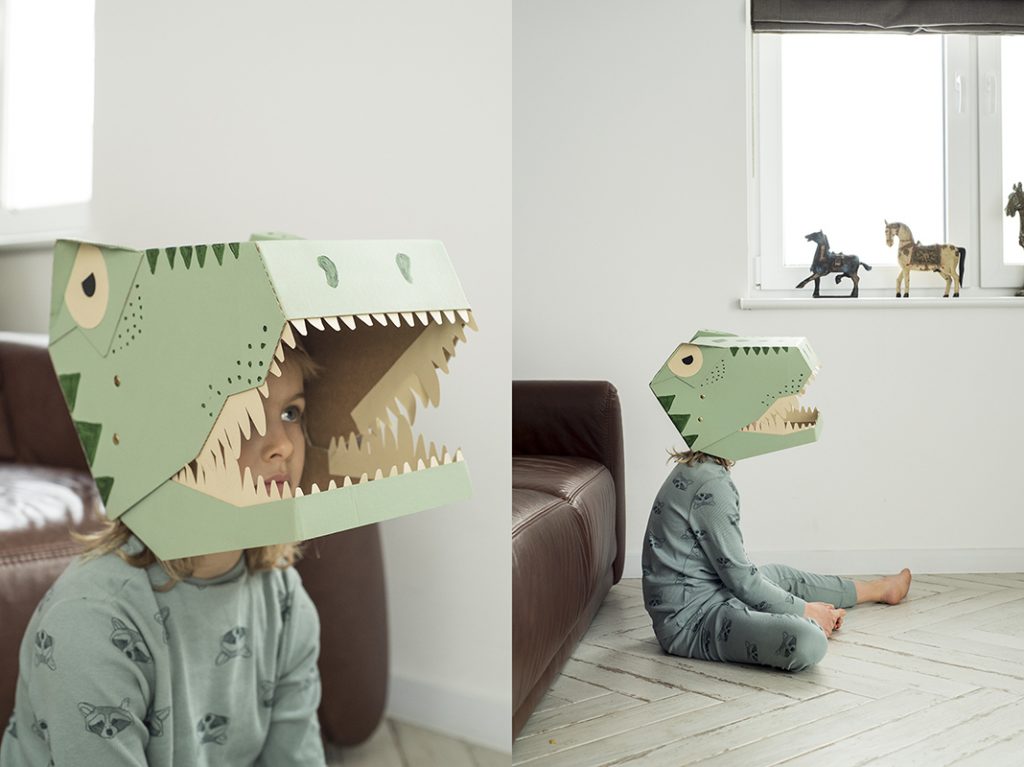 We hope you found this tutorial helpful. If you want, please share the results of your work with us by tagging us: koko_cardboards and tell about us your friends!
To buy T-rex mask, click here.
See you next time!

