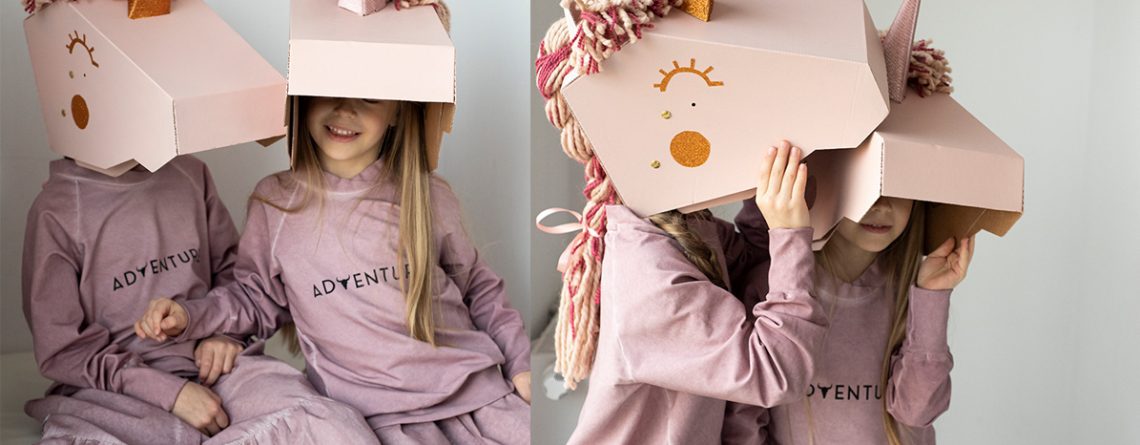
PIMP MY UNICORN
When you get bored with the ecological version of the unicorn mask and decide that it could use some color … we suggest our colorful metamorphosis!
Below is a step-by-step instruction on how to give your unicorn a new expression! Have fun!
- Unscrew the headband and lower jaw, then remove the entire mane.
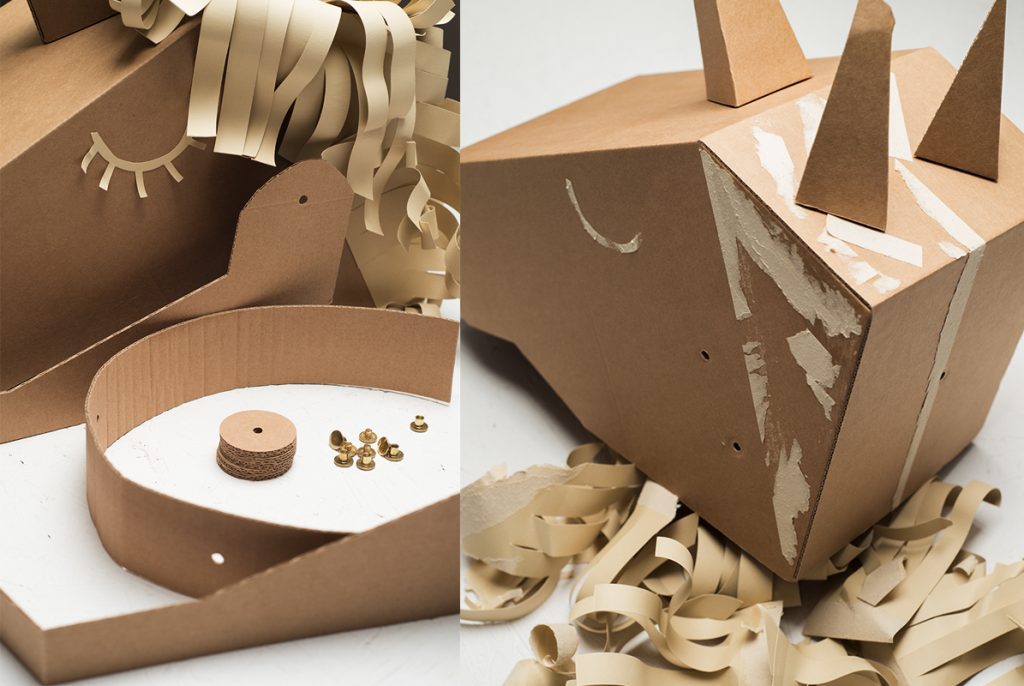
2. Prepare a brush and paint. If you can use acrylic paint, do not use water. The paint must be thick and opaque. The less water you use, the better. We mixed the two colors to get a shade of flesh pink. If necessary, apply two layers.


* IMPORTANT TIP
If you are painting the mask from the very beginning (when assembling the mask for the first time), do it immediately after gluing the main element. Under no circumstances should you paint the cardboard before gluing it into a lump (this will cause the material to bend).

3. Paint the lower jaw and then screw it and the headband back with the head mask.
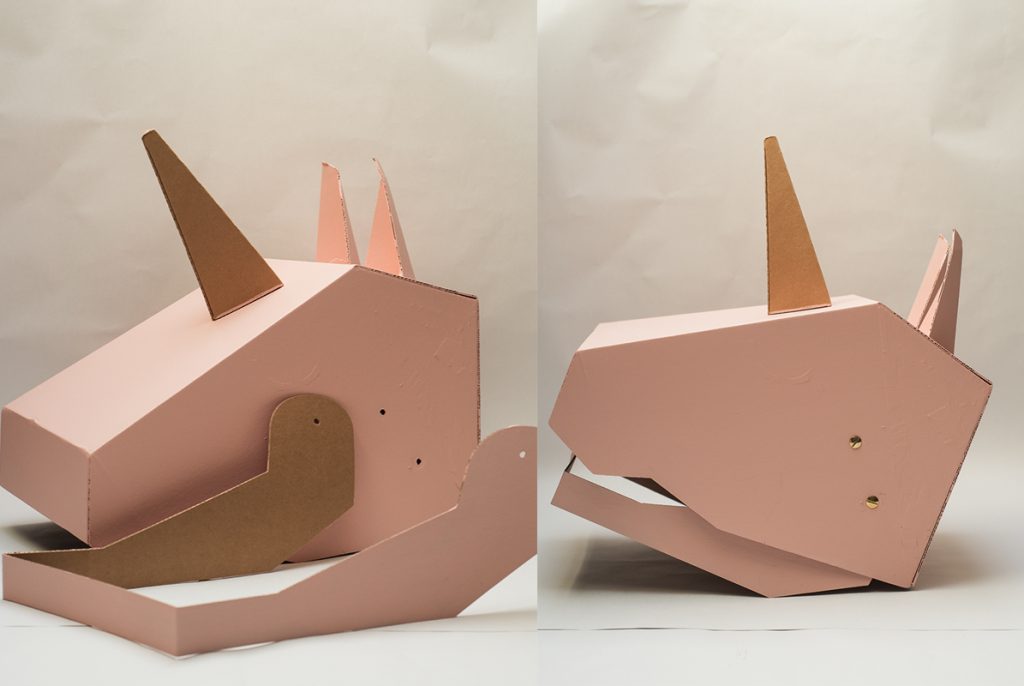
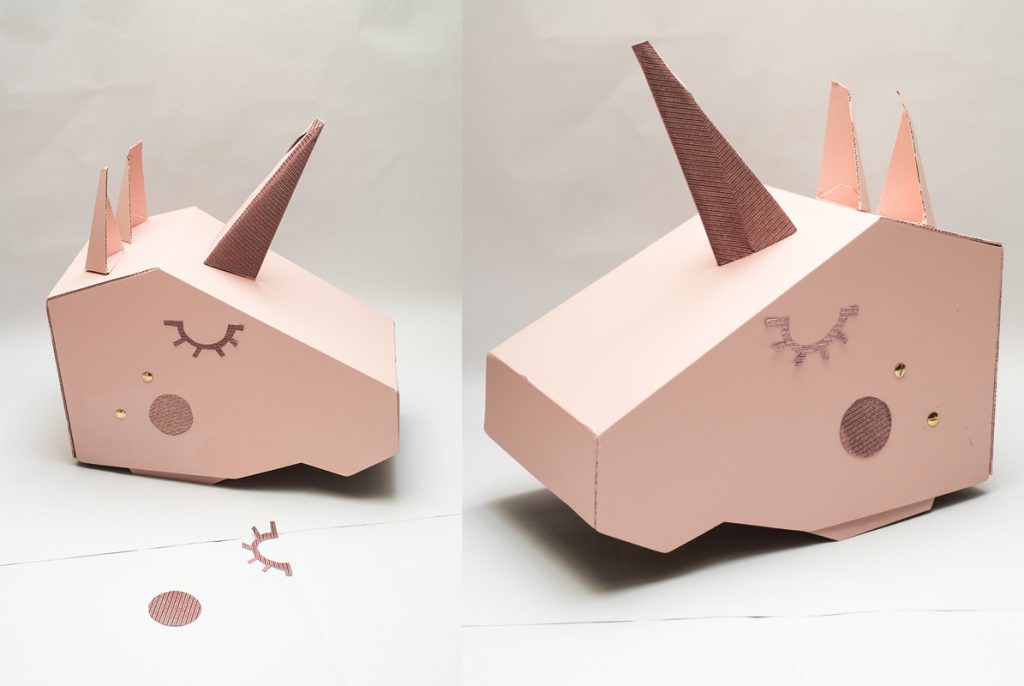
4. We have to take care of the magic unicorn horn. If you want to do it with the simplest method, use paint of a different color and paint it. We chose shiny, striped paper to wrap the horn around. We stick the paper with glue.
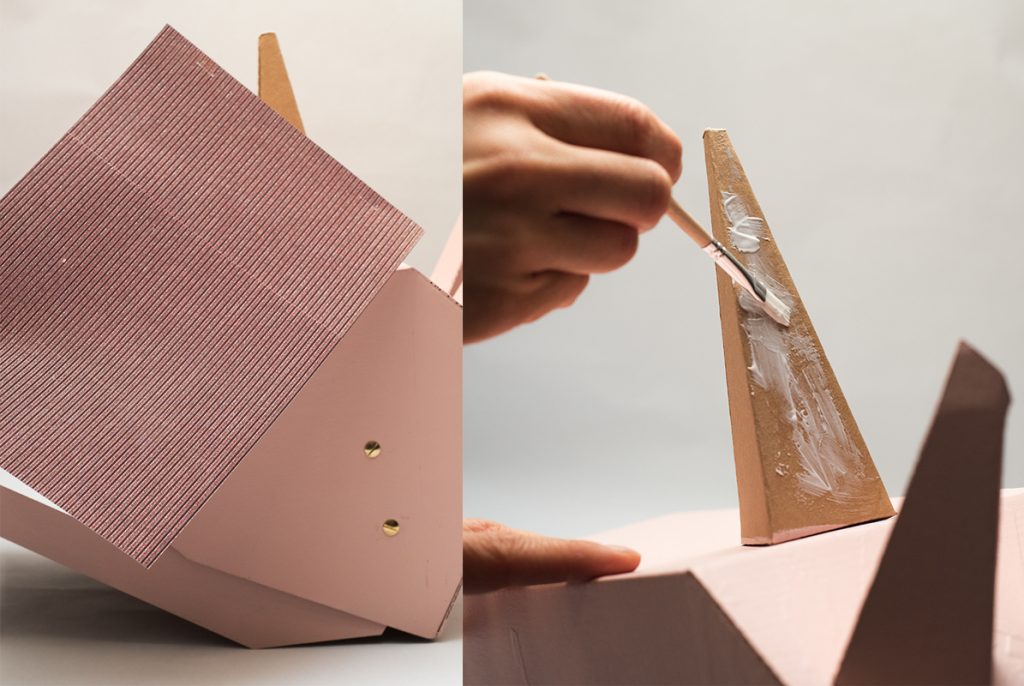
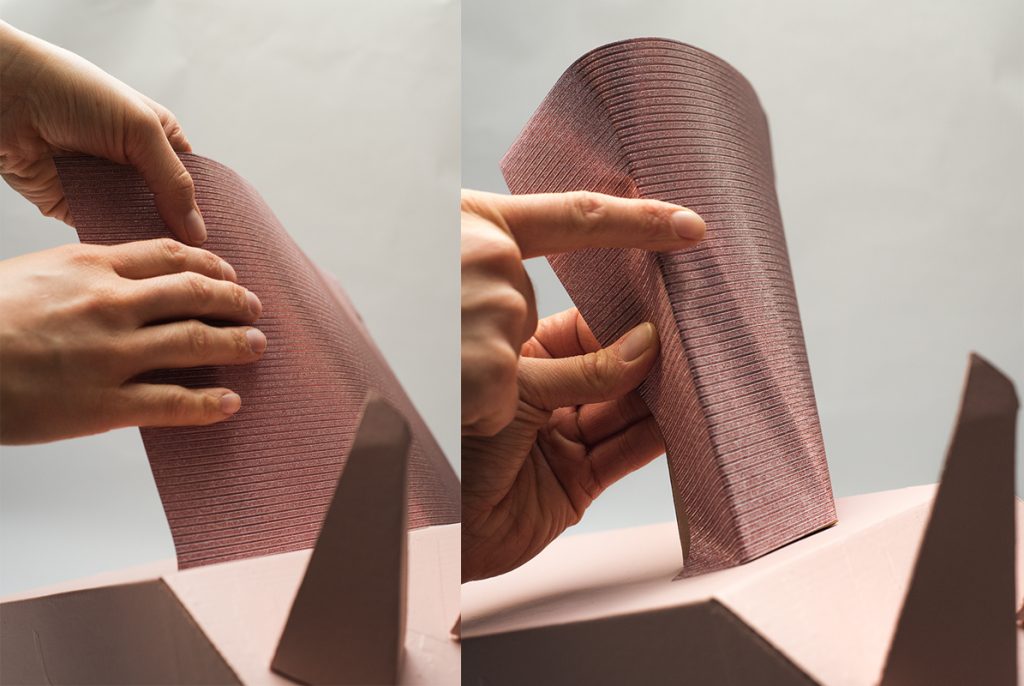
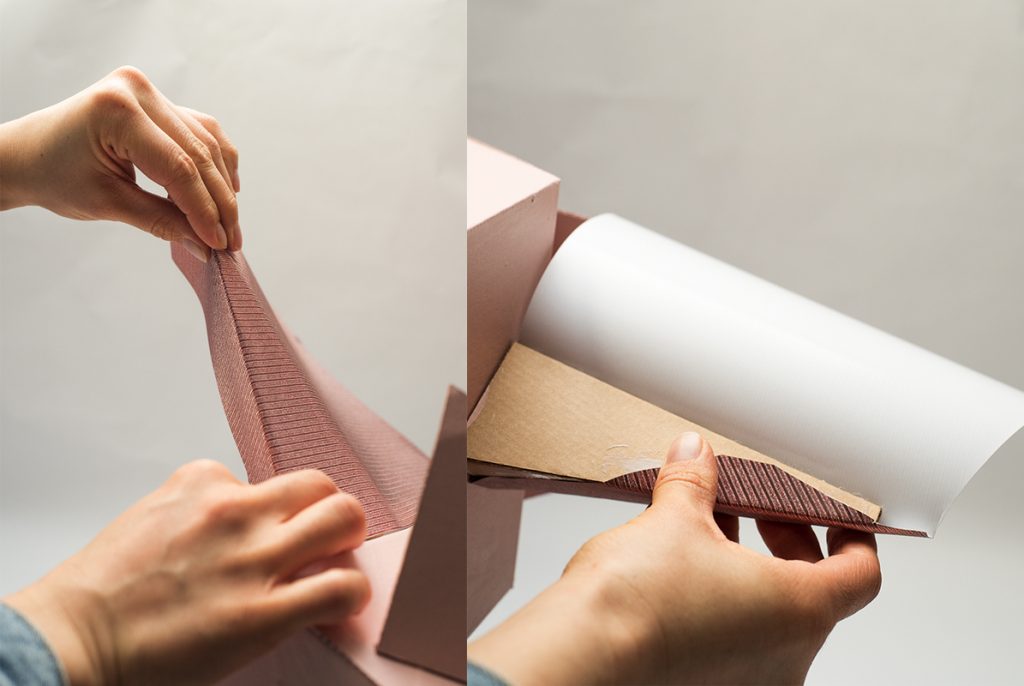
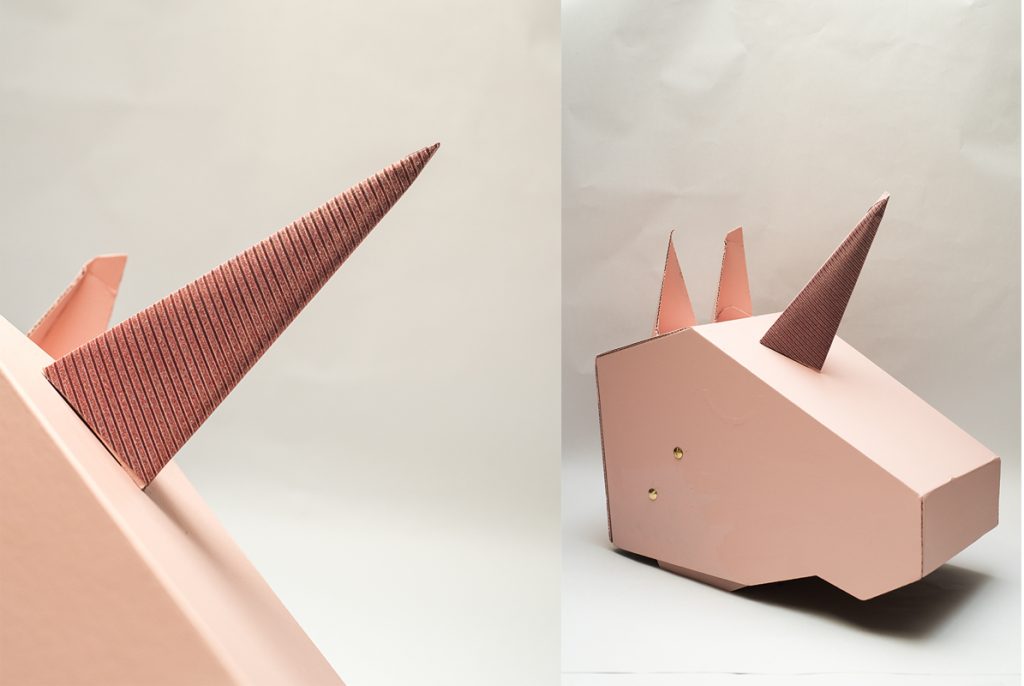
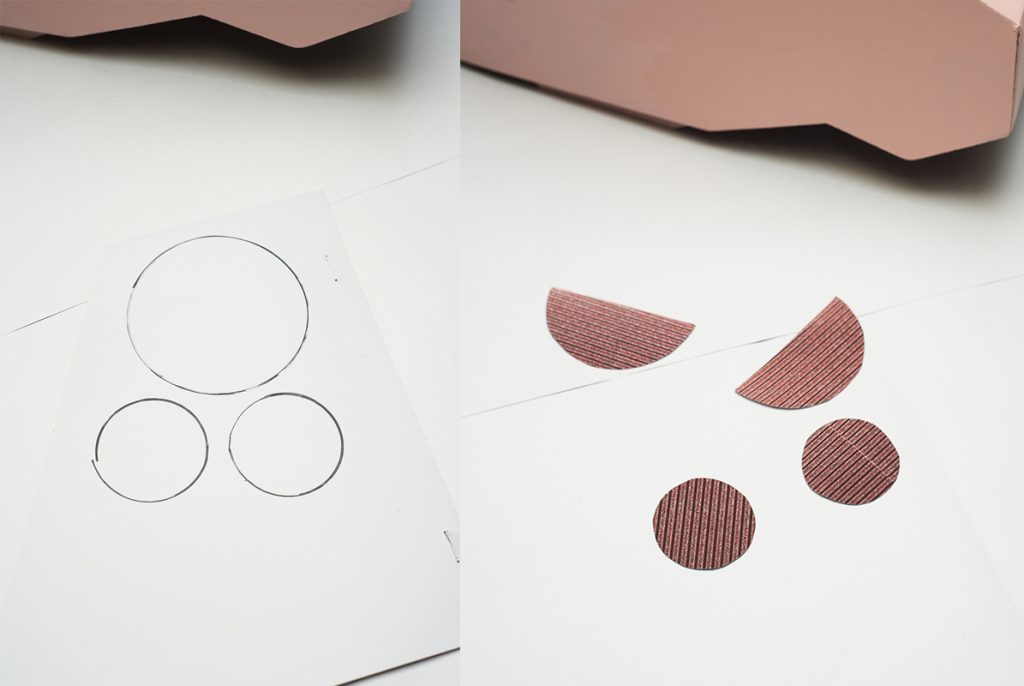
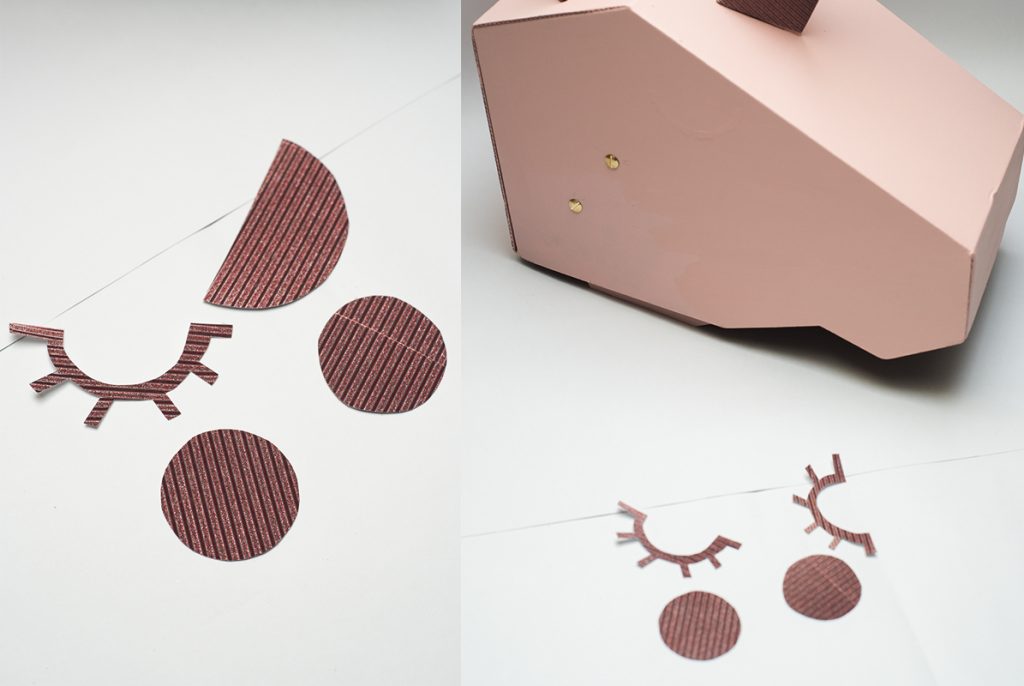
5. From the same or different paper, cut out a circle with a diameter of 8 cm (then cut them in half), and two circles with a diameter of 4 cm. Cut out the eyes from the semicircle (the same as in the instructions for making the unicorn). Stick your eyes and cheeks onto the mask. You can paint them in a simplified version.
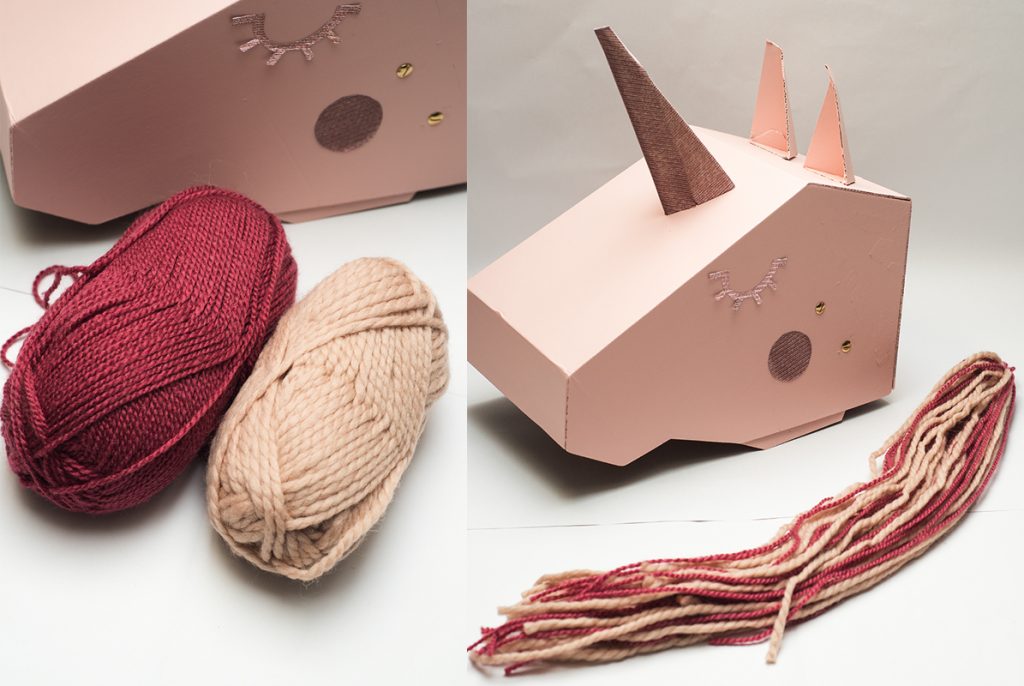
6. Prepare the wool, it can be of one color or you can mix any number of colors. If you do not have wool, use other materials, such as: strings, ribbons, crepe, etc. – the most important thing is that you can prepare relatively long strips from which you will make a putty, and then … braids!
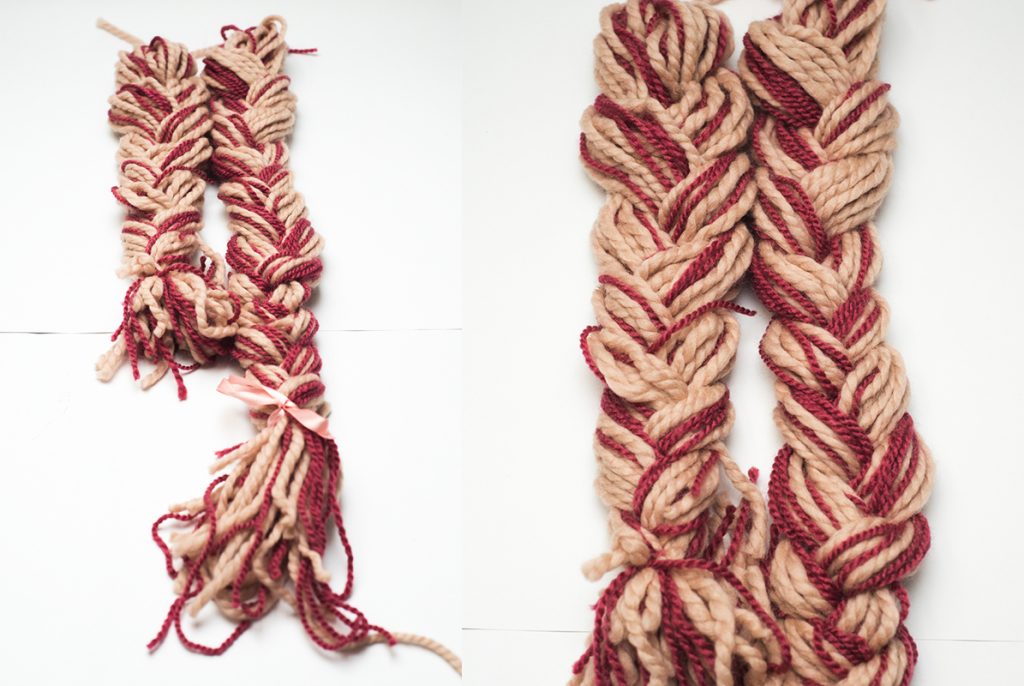
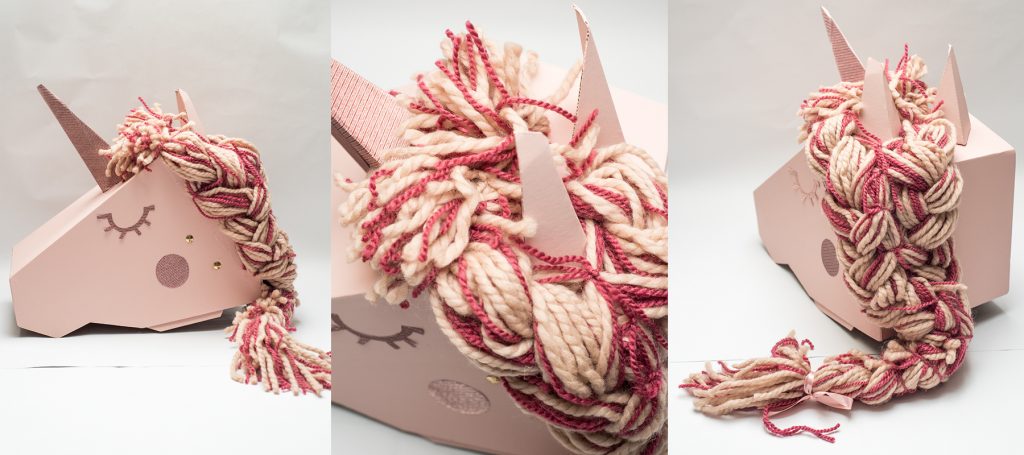
7. Finally, you need two braids: longer and shorter.
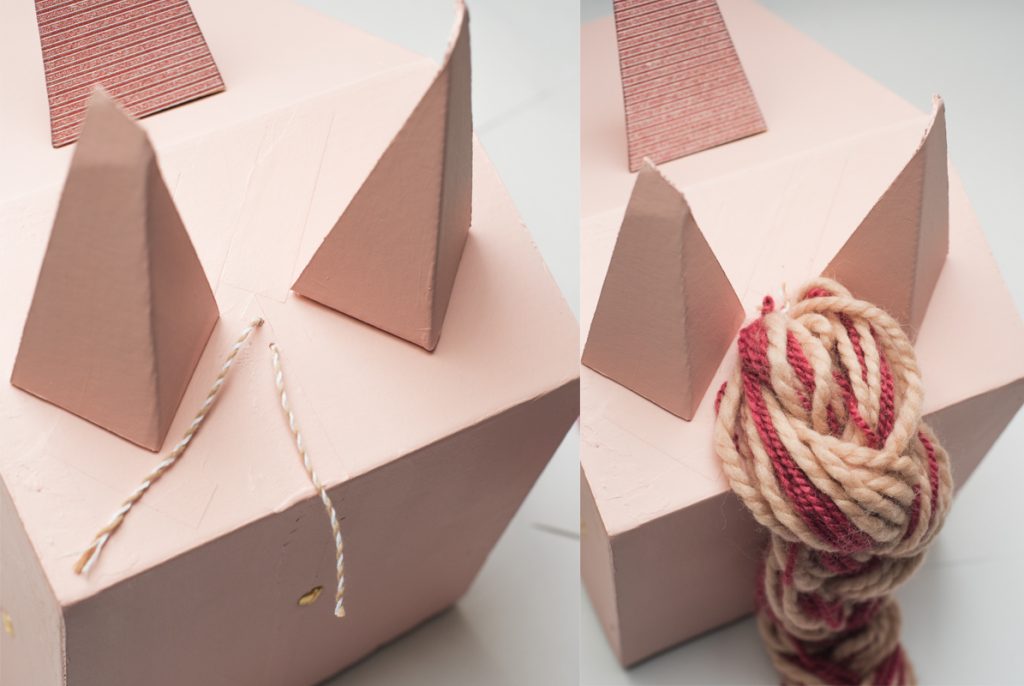
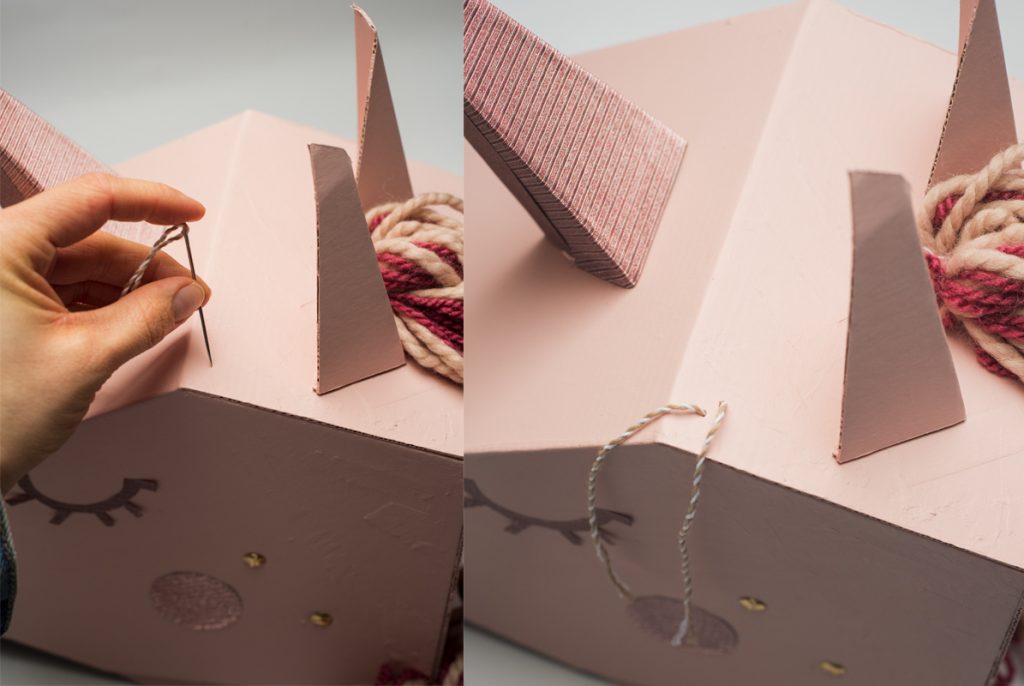
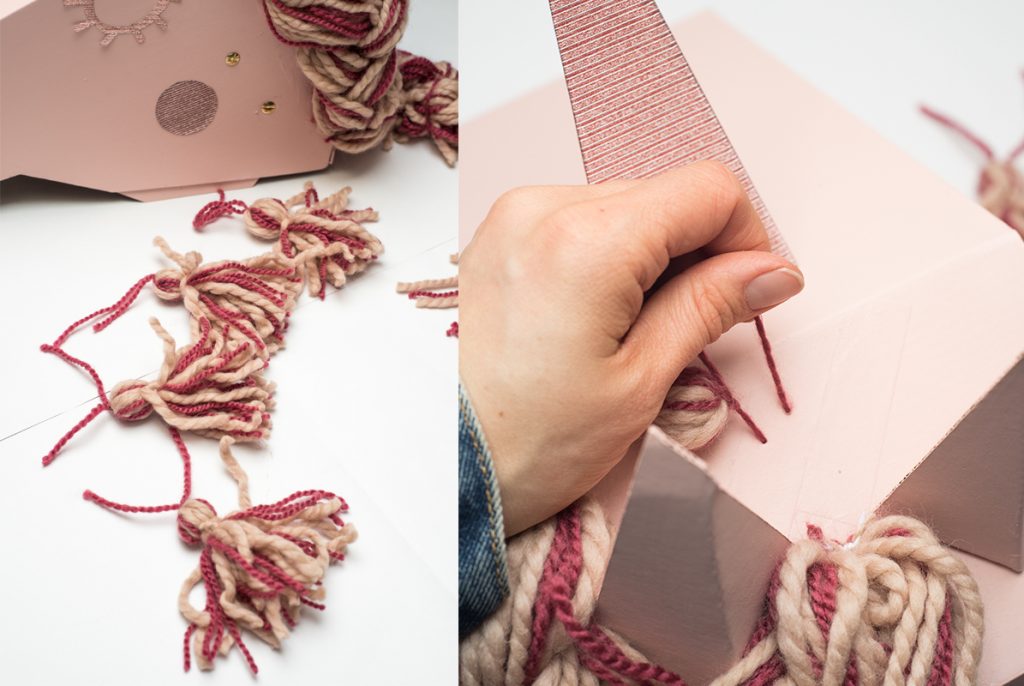
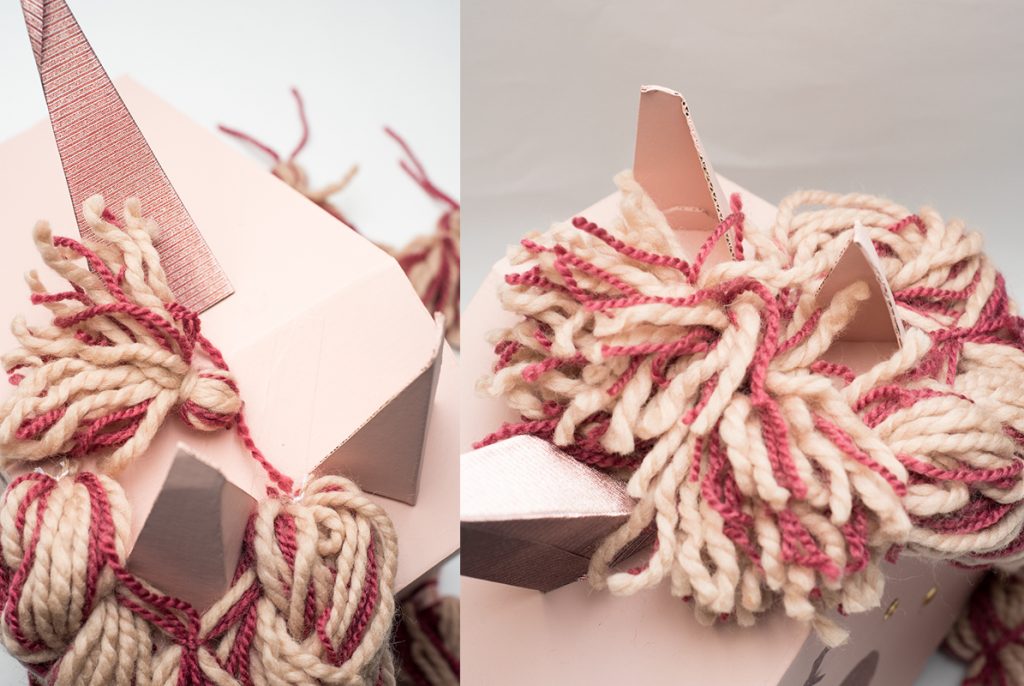
8. Prepare a needle and a piece of string or wool from which you make braids. Make two holes between the ears and thread it through the holes so that you can tie a longer braid to the mask.
9. Attach the shorter braid in the same way with the unsightly paper mane marks on the side.
10. Connect both braids with shorter lengths of wool so that they form one.
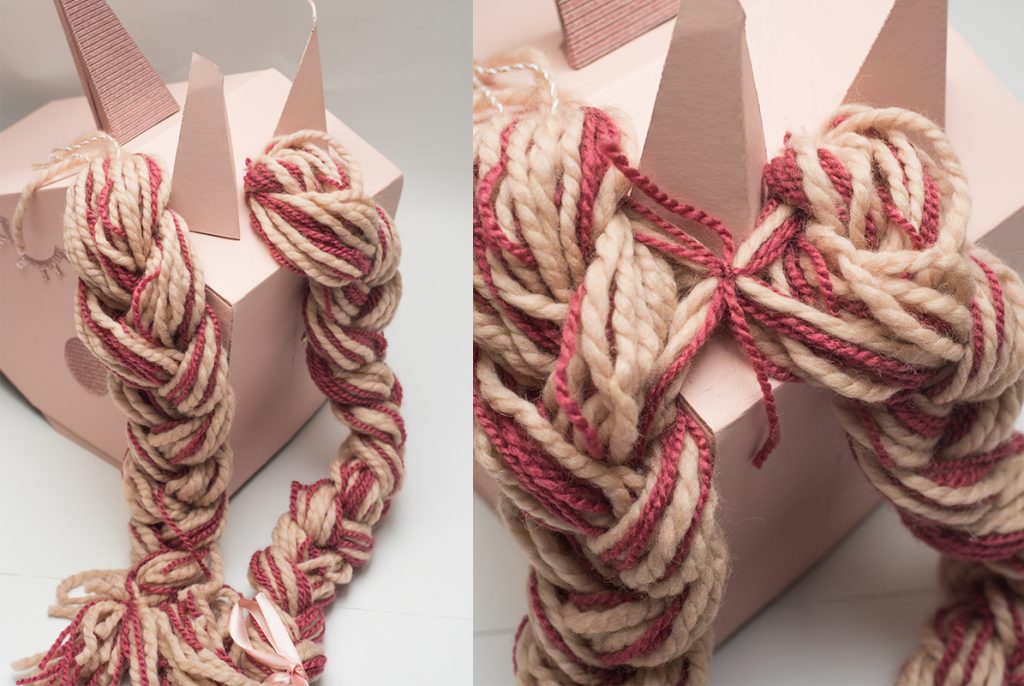
11. In a few other places you can additionally tie the braids to the mask, using the method from point 8. Thanks to this, the wool will stick well to the mask, won’t „fly”, and will certainly keep in good condition longer.
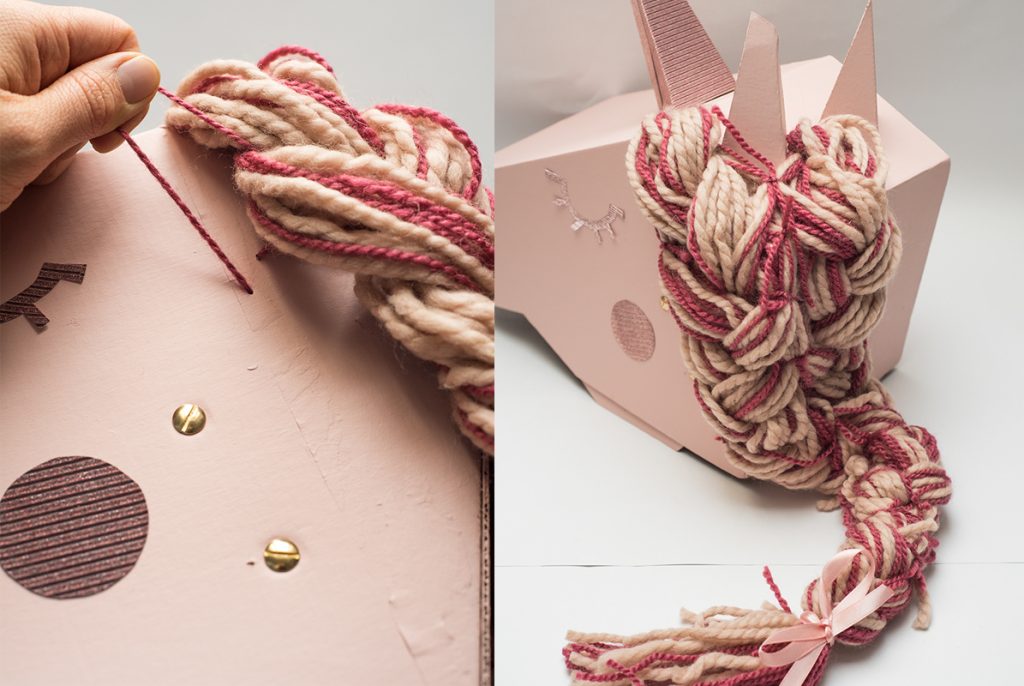
12. To make the front, shorter part of the mane, make four wool tassels, just like we make them with our do-it-yourself rainbow – see video. Attach the knots to the bonnet using the same method as the braids (see step 8).
WELL DONE! IT’S READY!
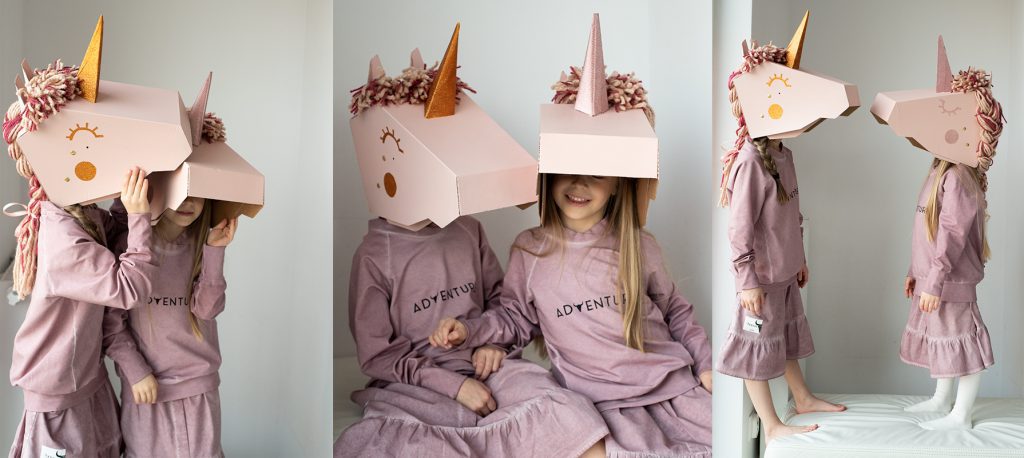
We hope you found this simple tutorial helpful. If you want to share with us the results of your work by tagging us: koko_cardboards.
To buy a unicorn mask, please click here.
By subscribing to our newsletter in the first week of March, you will receive a code by e-mail that will entitle you to a 15% discount on this product.
Good luck and see you next time!

