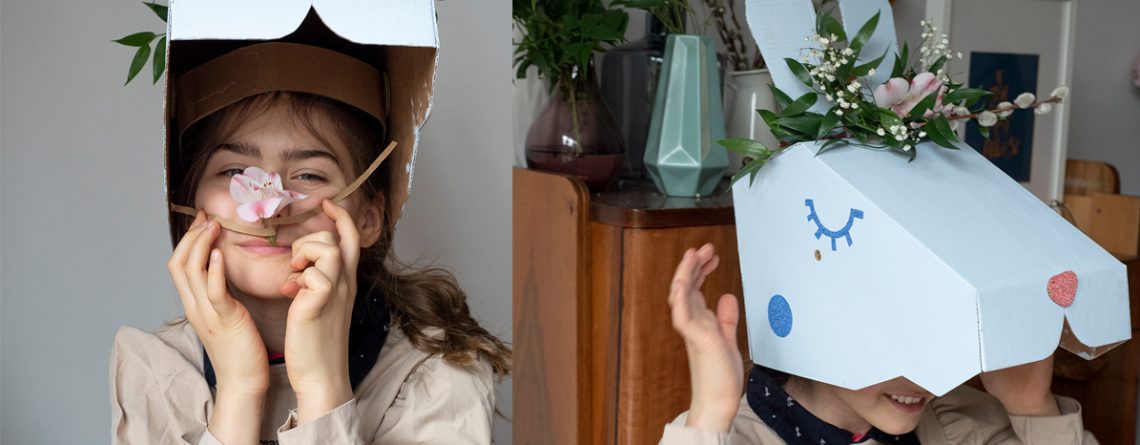
EASTER BUNNY
Easter is coming and with it the time of the first spring decorations, painting Easter eggs, planting watercress, and home baking. On this occasion, we have prepared some inspiration for you on how to creatively organize your family time. In the beginning, we would like to show you the next installment of the mask remake, this applies to both the unicorn and the t-rex (as you can see their potential is really huge). If you don’t have any of our masks yet, you can reverse the process and make a bunny first, then remake it to the original version.
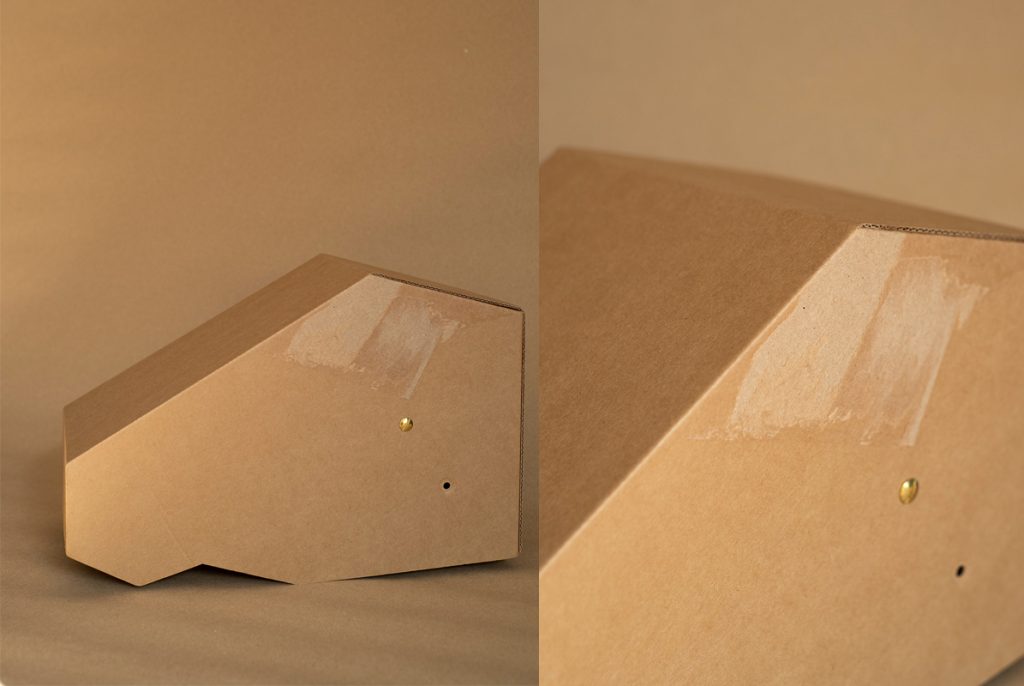
1. Clean the mask from the ears, eyes, mane, horn, lower jaw – in short, all additional elements specific to your model. Ultimately, we strive for the cleanest possible base of the mask. Don’t worry if there are traces of removed elements. Ultimately, they will be less visible.
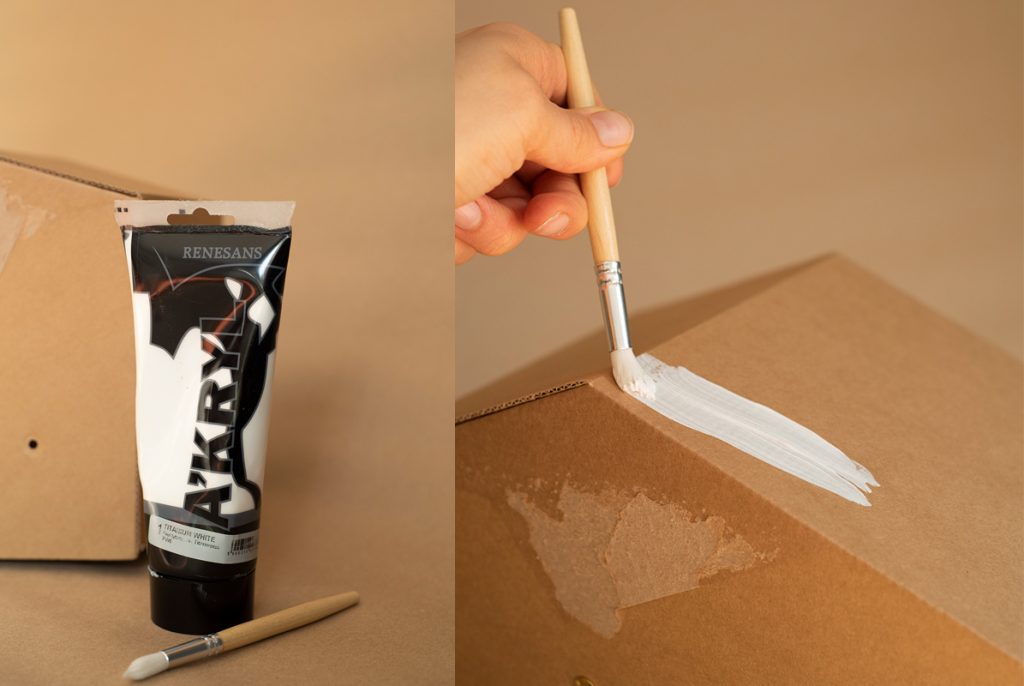
2. Prepare a brush and paint. If you can, use acrylic paint, do not use water. The paint must be thick and opaque. The less you use when painting water, the better. If necessary, apply two layers.
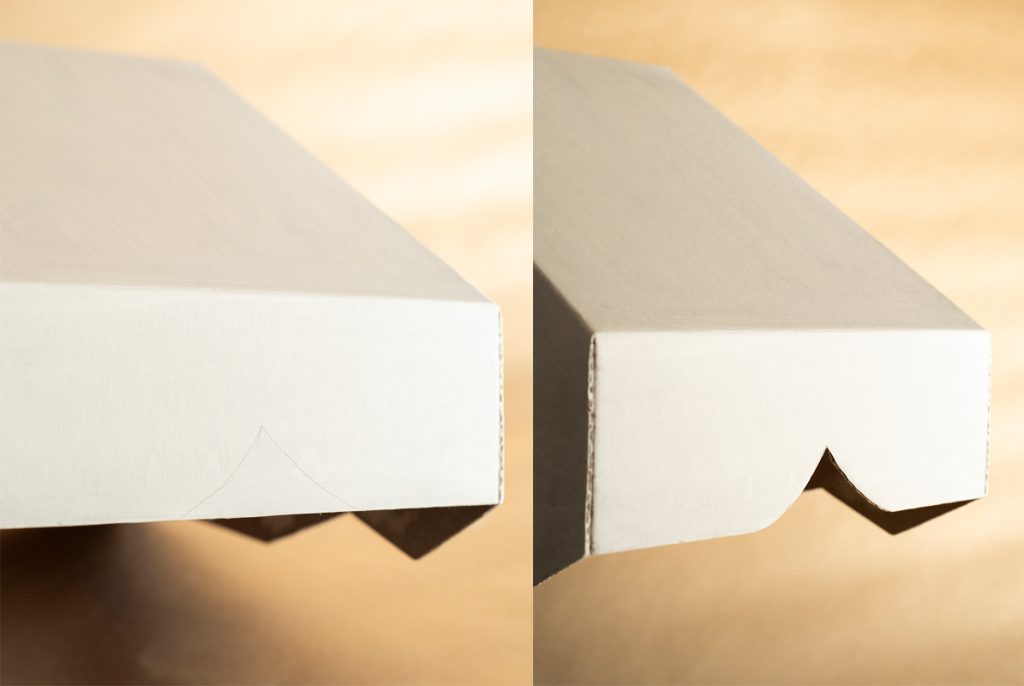
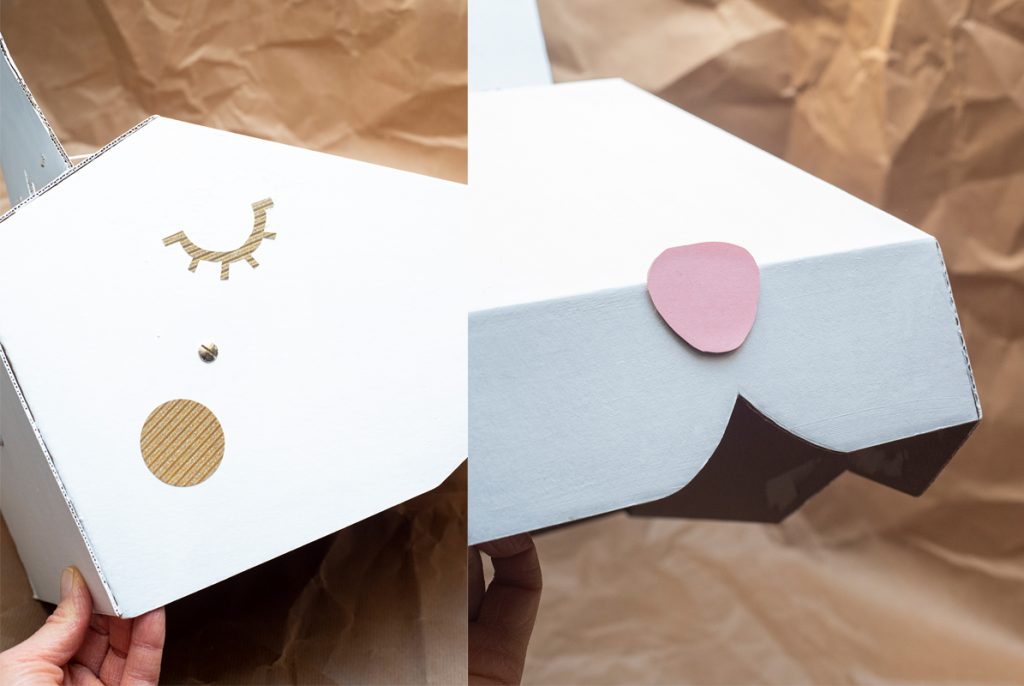
3. When the mask is dry, we will change its mouth a bit. Sketch it on the front of the mask and then cut it out. If you are making a bunny on a new product and plan to convert it to an original unicorn or t-rex afterward, you will have to undo this move. We suggest cutting out such an element from the packaging box after the product, and then stick it to the front to „mask” the hare’s face.
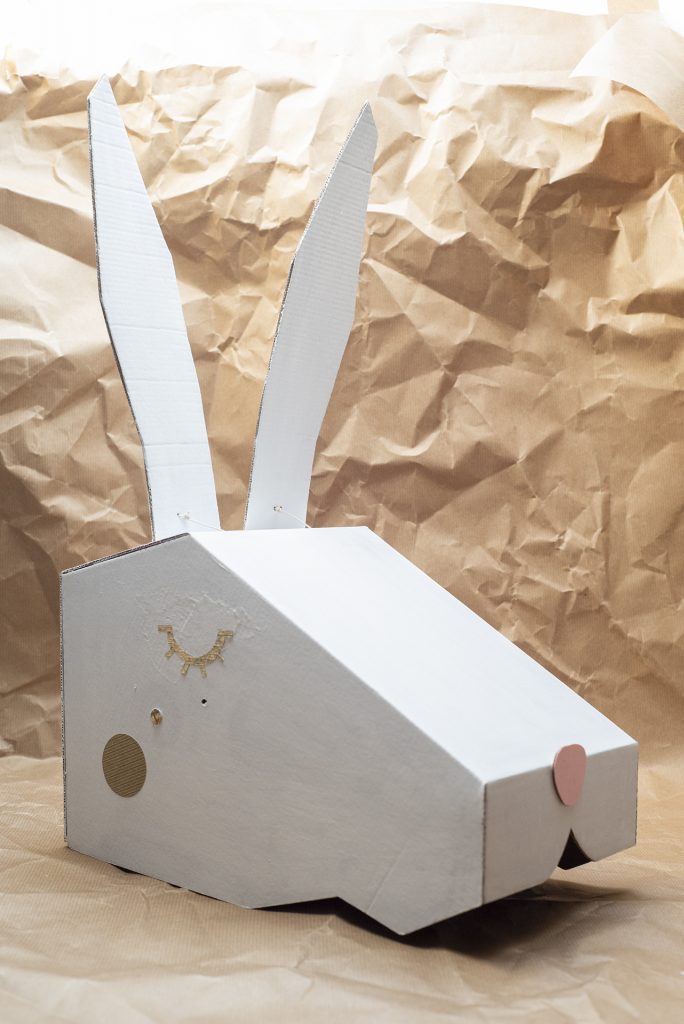
4. Time for the ears. To make them, you will need cardboard. If possible, use the packaging after our product. Draw them yourself, or use a file that will allow you to print our template for drawing on your home printer. You need 4 pieces, two for each ear. Important note! Extend the ears from the bottom by about 3 cm – the A4 format did not allow us to make them longer.
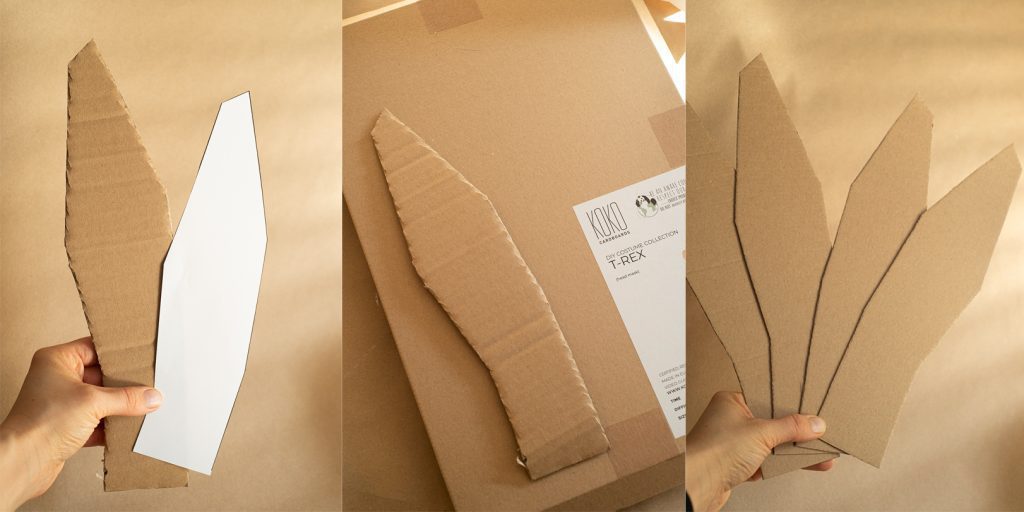
5. Glue two layers of each ear together, leaving it unclipped about 2-3 cm from the bottom – you have to fold the non-glued areas outwards so that you can place the ears on the mask.
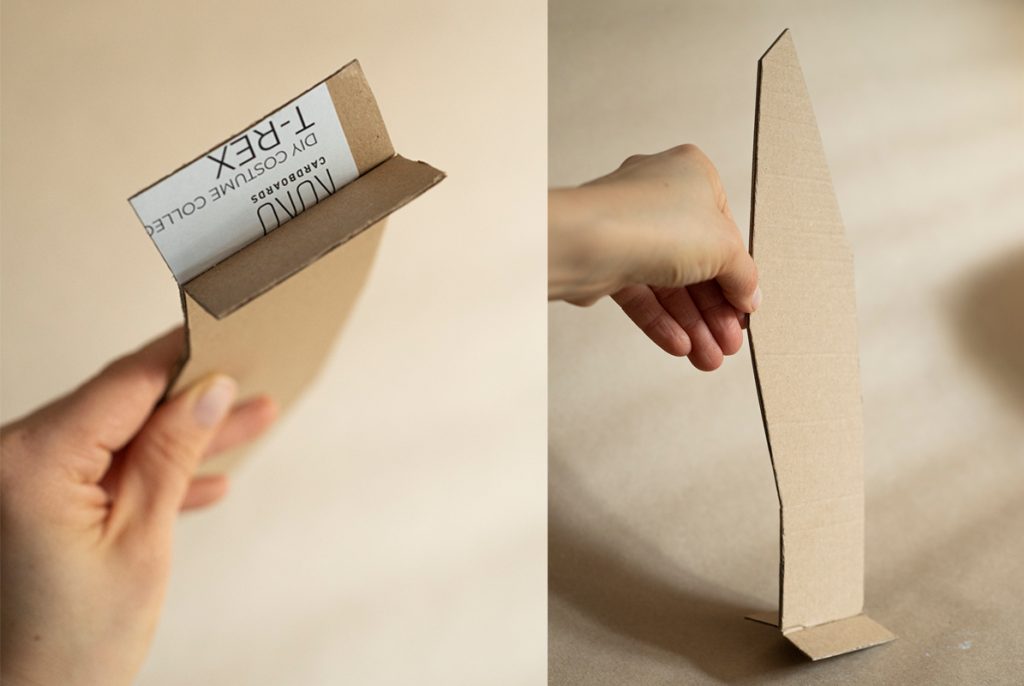
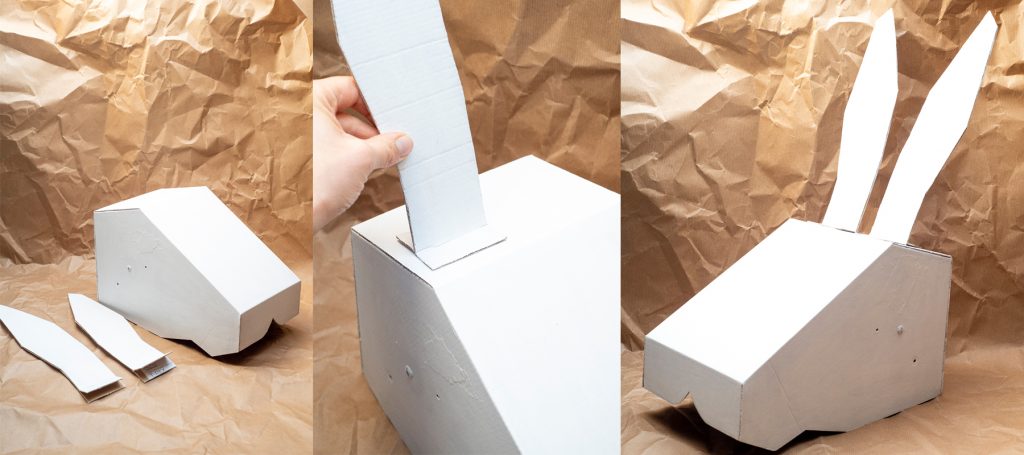
6. When the ears are ready, paint them on both sides and stick them to the mask.
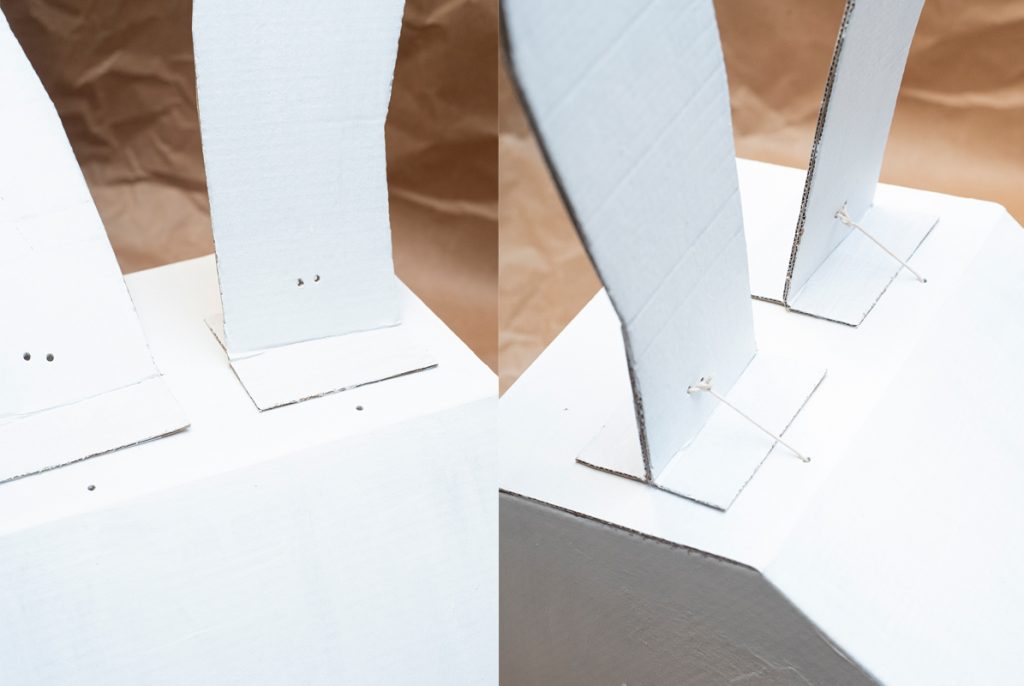
7. Your ears are already attached to the mask, but they are very likely to fall back – to keep them in an upright position, you can use a string to tie them to the front of the mask. Puncture the hole with a thick needle, thread the string and tie it.
8. Now we will make the eyes and blushes. Cut one circle 8 cm in diameter, cut it in half, and then cut out the eyes of each semicircle as you see in the photo. Also, cut two circles with a diameter of 4 cm. Glue eyes and blushes on the mask. You can use blushes to cover the bottom hole of the jaw screw.

9. Attach the toe on the front, preferably make it from two layers: cardboard + colored paper, so that it is stiff.
Finished! Your Easter bunny is surely really lovely …
… But we thought it would be nice to add some more decorations! We opted for fresh plants and pompoms, but of course the possibilities are endless! Give your bunnies a fantastic look! Good luck!
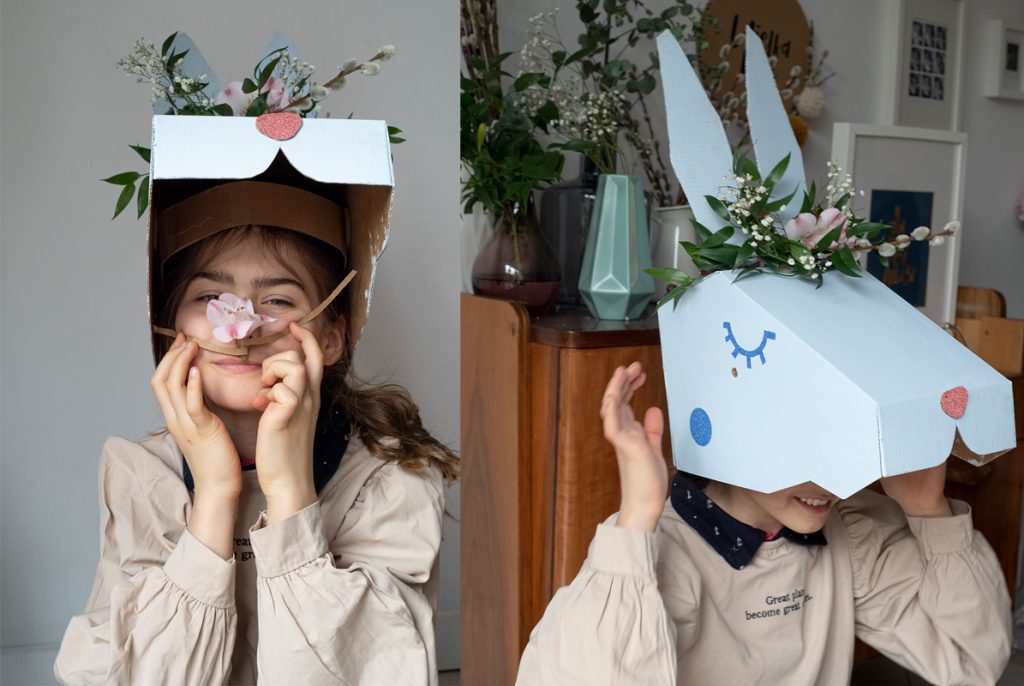
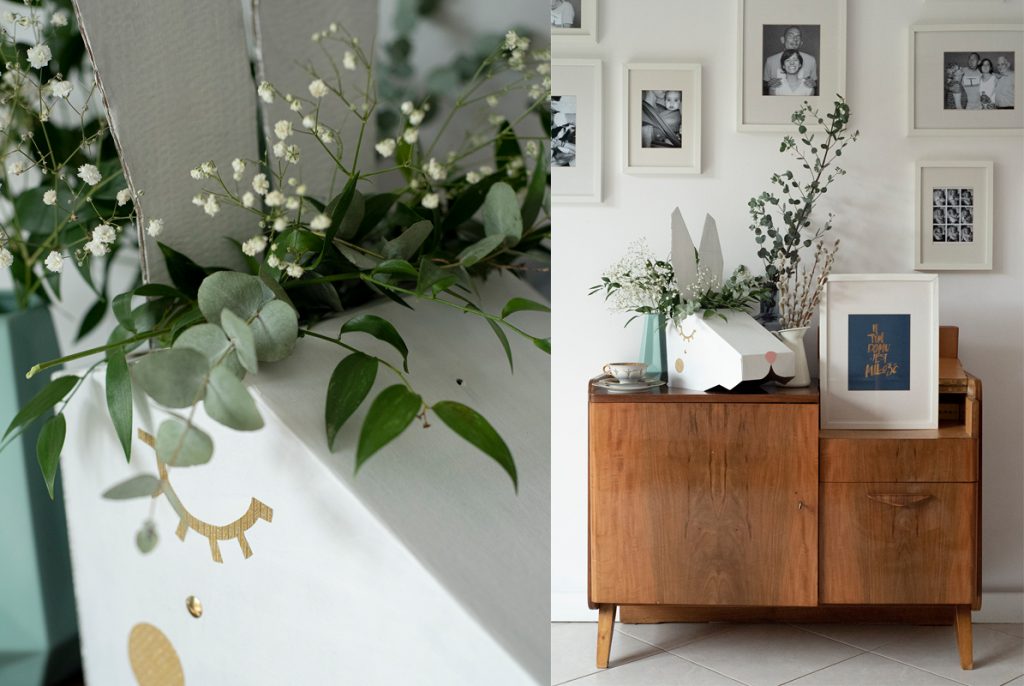
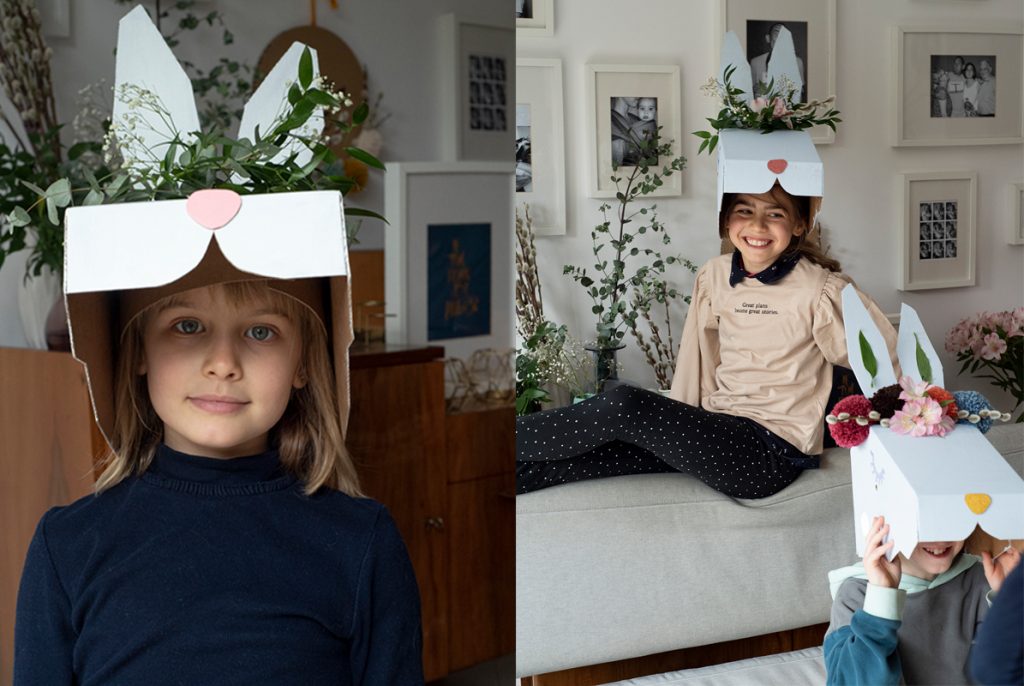
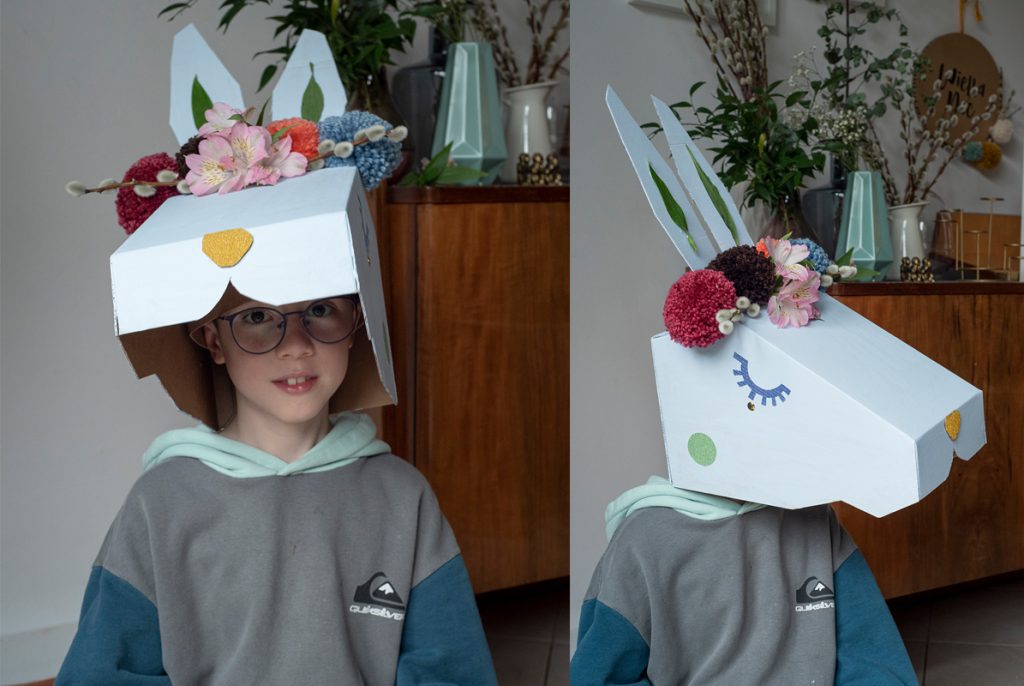
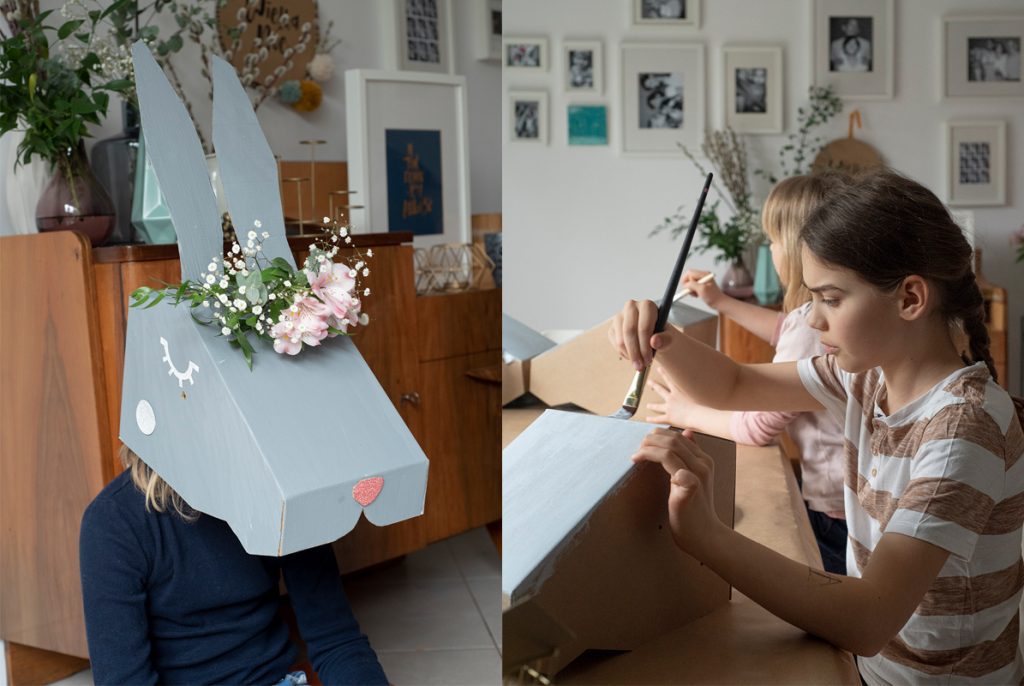
p.s. To attach additional decorations to the mask, use wires and strings and attach the elements to the mask.
We hope you enjoy this Easter tutorial. If you want, share with us the results of your work by tagging us: koko_cardboards.
To buy a Unicorn mask, please click here.
To buy a T-Rex mask please click here
Good luck and see the next one!

